
I removed most of the waste material with a router on the double jig seen here in the background.

I then placed on another jig for the next process.

Shaping the sideboard door handles with purpose made scrapers cut from high carbon steel.


Inspecting a door handle down it's length.

One of the handles with dominos inserted.

Handles glued on the door panels, about to be trimmed.

The hand cut veneers that were put aside a few months ago have been thicknessed to 2.8mm and cut into strips which will be used to make up the veneered door panels.

Each strip was then jointed by hand on a shooting board.

Then cut at 52 degrees and laid out, numbered, and glued together in pairs. Then the pairs were glued together.

After the quarter panels were jointed, then glued to each other to make up a panel face.

Laid out for selection and about to be vacuum bagged.

After a lot of scraping and sanding the finished door panels are ready for their handles.

The sideboard top jointed up, which will be left settle for a week before being sized, then the curved chamfers put on the front and sides.

The back having been made up and fitted.

Side with the legs on and the through wedged mortise and tenons. The bottom leg tenons still need flushing off here.
To keep the sideboard legs stable I decided to make them with a birch ply core and solid walnut mitred corners.

Gluing up the core then 2 sides, then core and two sets of sides, took time and all the small clamps in the workshop.


Here you can see all the blocks that aided the glue up. They were attached with glue and paper joint to allow easy removal afterwards.

Cutting out the mortises. You can just see the birch ply core.

Here I have started the glue up of the rails on to the panels.

And here the divisions and shelf on to the base.

And then the sides and drawer panel.

A mock-up of the sideboard top was made in MDF in order to get approval from the client on the chamfer detailing and sculpting before committing those to the real walnut top.

Here you can see the curved chamfer on the underside of the mock-up top.
Below we can see one of the longer panels with its side lippings already glued on and the front lippings mortised and ready to be glued up.

And here the two smaller panels having their side lippings glued up.

I marked up the veneers, cut them and prepared them into packs.

Trimming the packs in a router set up.
A pack of veneers sandwiched between two sheets of MDF and then trimmed with a bearing cutter on the router.

Some of the packs trimmed and ready for taping together.

Book matching the veneer leafs prior to taping.

It's best only to tape together enough veneers to press in one day. If the veneers are taped and left overnight the sellotape tends to stretch and can pull apart, causing glue lines during pressing.
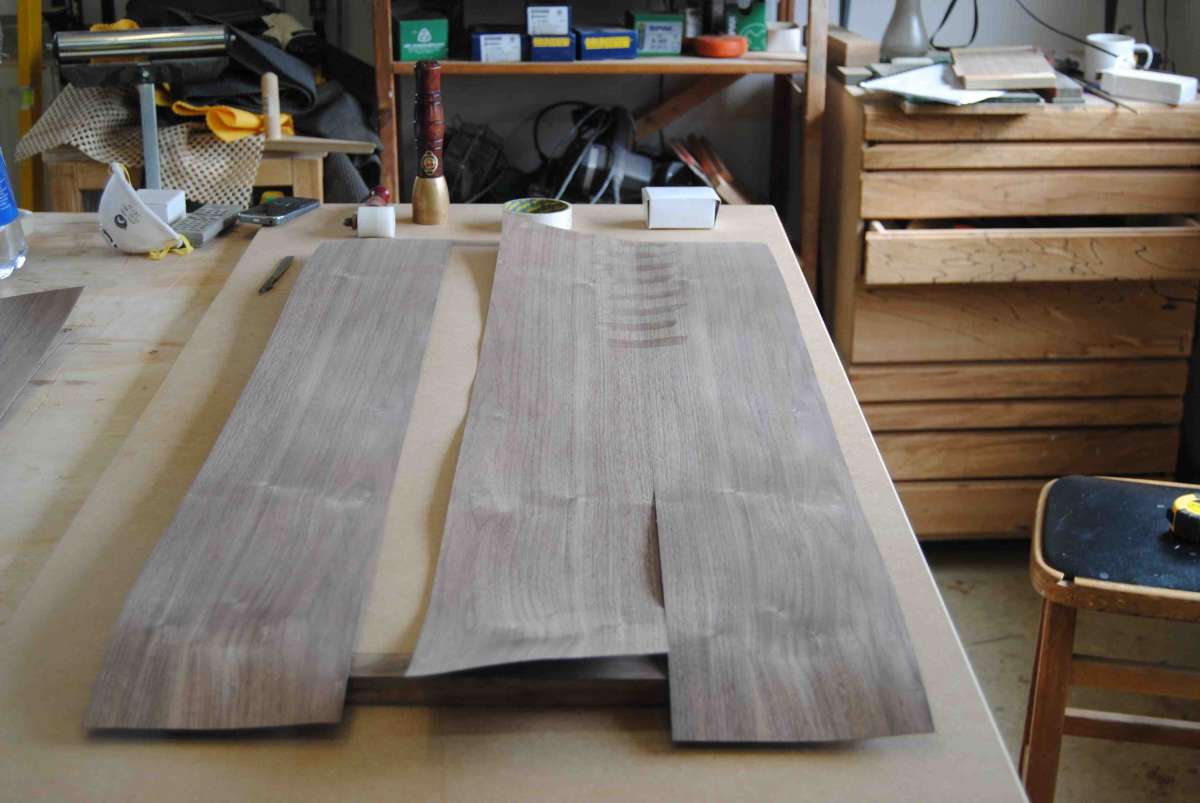
Taping together veneers.

Using a small veneer roller to apply pressure to the tape.


Once they're taped together the veneers can be held up to the light to see if there are any gaps between the leafs of veneer.

Dry run - all the panels laid out with their corresponding veneers on the pressing platens.


With the urea formaldehyde based glue applied and in the press, pulling a good vacuum of about 13psi.

The next morning, after taking the veneered panels out of the bag press, I removed the tape and scraped off any glue that had squeezed out during the night.

The veneered panel scraped, sanded and ready for cutting.


